Author Archives: Hyrule Foundry
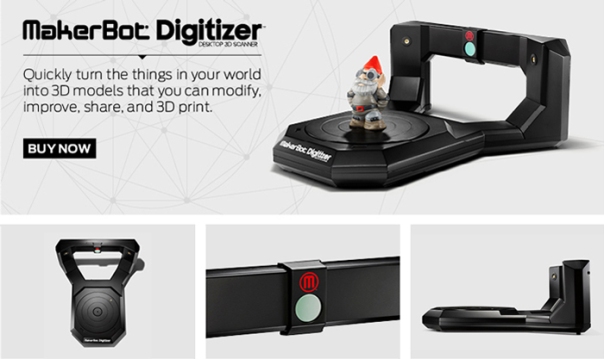
The Makerbot Digitizer, 3D laser scanning on your desk!
Makerbot does it again by coming out with an impressive desktop 3D scanner. I have not used it yet as it is only available for pre-ordering now. It can scan any object that fits within a cylinder that has a diameter of 8 inches and is 8 inches tall. The digitizer also comes with its own software.
Price: $1,400
See how it works in this video.
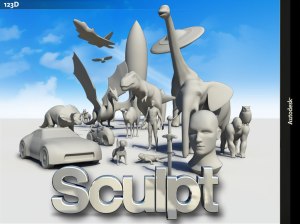
123D Sculpt, virtual clay never felt better.
Here we go with another Autodesk app. Today we will be reviewing 123D Sculpt an app for Ipad that allows to form a model out of virtual clay.
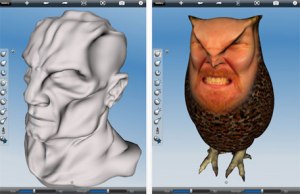
The program is very intuitive to use and has many features, which can be seen in the video below. Models can be exported in .stl format and 3D printed!!
Examples:
123D Creature, look out it’s hungry
Autodesk is cranking out a ton of free excellent software lately. Today we will be reviewing Autodesk 123D Creature. It’s an app that’s only available for iPad and it allows you to create and color any creature or character imaginable.
Honestly, it reminds me of the creature creator from Spore with some added complexity.
Here are some examples of what people have made.
Characters created in this program can easily be printed in a monochromatic material through an online printing service like Shapeways or on your own 3D printer.
Though I have not attempted it, I also believe it possible to 3D print in color characters made in this app. However, it seems like the process will require special software to convert to the proper file.
The Raft, made from real Deku tree
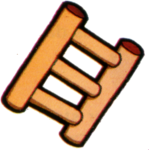
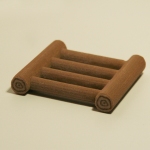
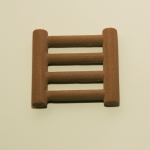
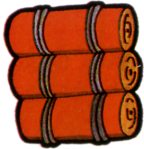
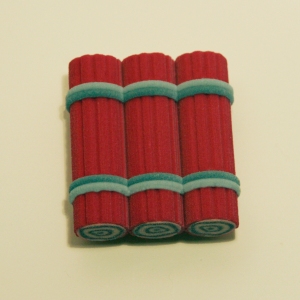
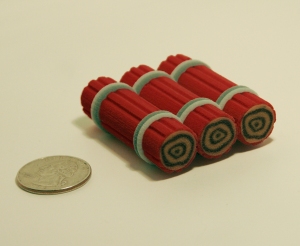
At this point in the game you are ready for the third dungeon, the Manji. Inside the dungeon you will find the raft, a item that will enable you to cross water and reach new areas. The raft is found in a few other Zelda games but there does not seem to be a connection between rafts from different ages. Making them unique items to their time period. I used the image from game manual and the 8 bit image as inspiration for the 3D version of the raft.
Now I leave you with a video on the top 10 Zelda Bosses.
123D Make, laser cutting goes 3D
Autodesk is cranking out a ton of free excellent software lately. Today we will be reviewing Autodesk 123D Make.
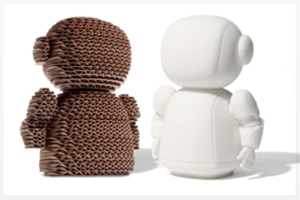
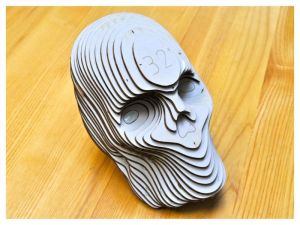
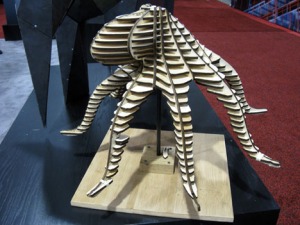
123D Make allows you to do the impossible, which is make 3D objects with a laser cutter. It has many options of how the parts can be assembled and even numbers them for you!! The interface is easy to use and there are a lot of options.
Watch this demo of how it works!
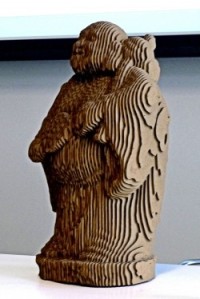
People have made some really amazing stuff with it!
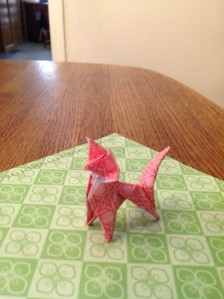
Do not worry if you can not get your hands on a laser cutter, 123D Make will even teach you origami.
Sharing a New Trick with the 3D Printing Community
Ok, below is the technique I’ve been working on – a novel, cheap, two-part mold method.
Making a cheap reusable two-part mold using a 3D printer and a laser cutter:
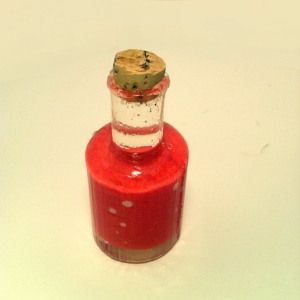
In this method we will be making a two-part mold for casting a clear bottle around a full color 3D printed artistic liquid. The finished object is a 3D inspired version of the red potion from the original Legend of Zelda.
The casting material for this project is clear silicone rubber, however, I’m confident that this method can be used for many materials. There are so many possible applications, from cheap movie props to casting lenses. I really hope all of you will run with this and cast some cool stuff.
What you’ll need:
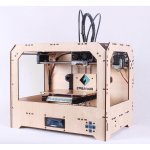
1) 3D Printer that prints ABS (PLA will not work)
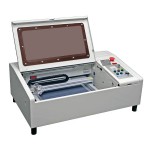
2) A laser cutter or access to one, low powered hobby versions are fine
There is also a online latex laser cutting service.
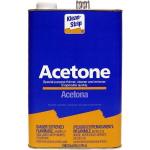
3) Acetone
4) Q-tips
5) 0.4 mm latex sheeting, I got mine from Etsy
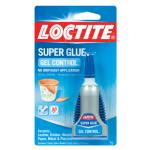
6) Gel Control Super Glue
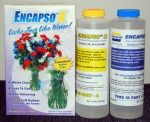
7) Encapso K from Smooth-On or other casting material
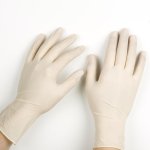
10) Gloves for working with Encapso K
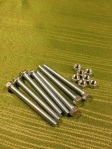
8) 5mm x 50 mm bolts and 5mm Nuts
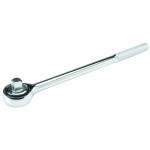
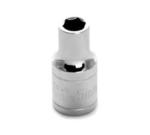
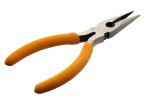
9) Ratchet with 5mm socket and needle nose pliers for tightening bolts.
The Method
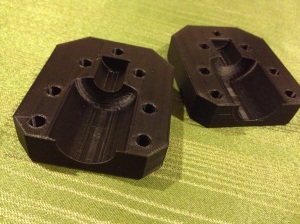
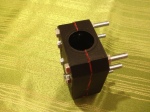
First you will need to print the two parts of the mold. The mold for the bottle was modeled in Tinkercad. The file is available here on Thingiverse. You will need to print two of them. If creating your own mold for another project use mine as an example.
Now that you have two sides to your mold you need to smooth the surface that will come in contact with the casting material.
Do this by dipping a Q-tip in acetone and gently rubbing the surface until it has a smooth sheen after drying. Note: This can not be done with PLA as it does not dissolve in acetone.
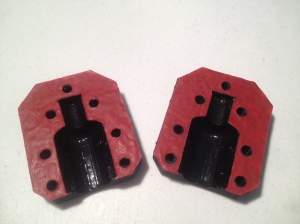
It will look like this when dry.
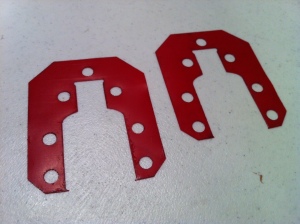
Great, you almost have a 3D printed two part mold. The problem now is that the mold is bound to leak because, even with great pressure, the two surfaces will not seal together. This is where the latex sheeting comes in. However, before we can use it on the mold we need to laser cut it. Some of you are thinking, “how am I suppose to generate a image to laser cut from a 3D model. Am I going to have to draw it?” The answer is no. Using Tinkercad, it is possible to position an object so that the workplane intersects its surface and can export it as a 2D .svg file.
Laser cutting files for the bottle mold are available here.
Once you have the .svg file you can easily convert it to the format your laser cutter prefers. Congratulations, you have just transferred a surface from a 3D model into a 2D file that can be laser cut.
For the bottle mold the results look like this.
Now you must attach the latex to the surface of the molds. To do this, paint a layer of gel control superglue onto the mold and then carefully overlay the latex. (FYI, if your thinking about using liquid latex instead of latex sheeting, it will only work once, when you de-mold it will tear off)
Once the superglue dries, it’s time to mold.
Most objects will go through the molding process only once. However, since we are imbedding an object into our bottle it will go through the process twice.
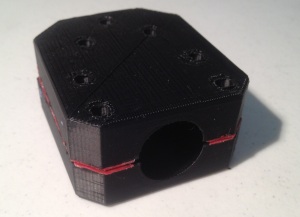
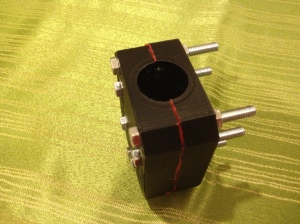
Bolt the mold together, making sure it is aligned. It needs to be tight but not too tight. Also, you can use clamps but this adds to the cost of the process. If you design your molds for use with clamps remember you still need a way to align the mold.
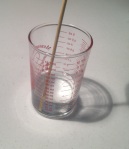
Mix the Encapso K silicone per the directions. A total volume of 30ml will do fine. Once mixed, pour in enough silicone to cast the top portion of the bottle and allow the silicone to cure for 24 hours.
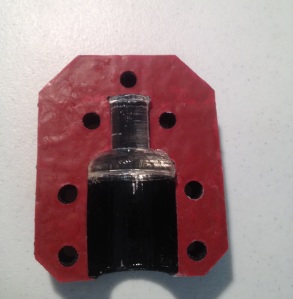
Once curing is complete, de-mold. Notice how the latex layer stays in place, as this mold is truly reusable.
The results look like this.
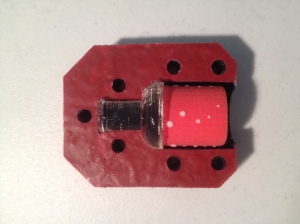
Place the 3D printed potion liquid in the mold like so. You can purchase the blue or red liquids here.
Align and bolt the mold back together.
Mix the Encapso K silicone per the directions. A total volume of 40ml will do fine. Once mixed pour the silicone till it reaches the top of the mold. Using chop sticks make sure the potion liquid is positioned in the center of the mold.
Allow to cure for 24 hours. De-mold and remove your potion!!
This method is free for all to use, enjoy and create something great!!!
Adding the cork to the bottle.
What you need
1) 9/16 x 27/64 Sealing Cork #3 (Available at most hardware stores)
2) Razor blade
3)Encapso K
Using a razor blade, cut a cork to the desired size.
Using the razor blade, very carefully remove some of the silicone material at the top of the bottle so the cork can be set in it. Next, mix up some Encapso K and use it to glue the cork to the bottle.
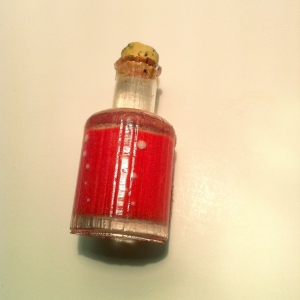
The final result looks like this.
Alternative method
Alternatively to make the bottle you could use a traditional silcone molding technique.
Instructions can be found here.
Smooth-On Mold Making: 2-Part Mold
You will need a bottle blank to cast from. You will still have to use a 3D printer to create it.
The file for the bottle can be found here on Thingiverse.
———————————————————————————————————–
That was a lot of work. I need a break. Posts will continue as usual starting on Monday!
The Water of Life (Red), with bottle!
They are called the Water of Life in the original game, but from now on I’ll just refer to them as potions. After the second dungeon, you are going to want to pick up something to help you through more difficult situations. There are several potion shops in the game scattered throughout the map. Purchase the red potion as it has two uses , and turns into the blue potion when used once. There are many types of potions spread across the Zelda timeline, however, in this age, only two potion recipes remain.
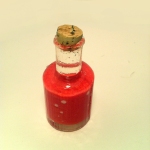
The red potion was quite a challenge to create. First, the liquid of the potion was 3D printed in full color sandstone. I tried 3D printing the bottle out of translucent material but was displeased with the result. Then I gave myself a challenge: create a way to form a clear bottle around the liquid by only using a 3D printer and other DIY equipment and products. The bottle is made out of a clear silicone rubber. I really like the way it came out.
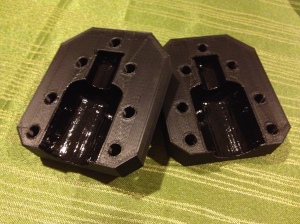
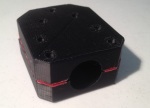
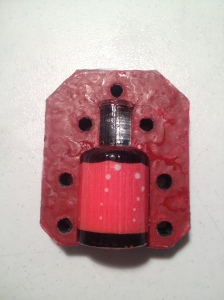
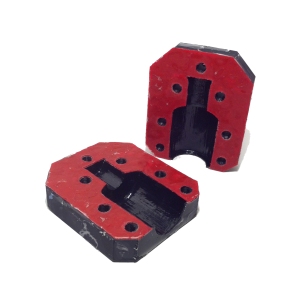
On my next post I will be discussing the method by which the bottle was made. This is a new technique that can be used to generate cheap 3D printed reusable two part molds. Here is what the 3D printed mold looked liked after casting the bottle. It will be used again shortly to create the blue potion.
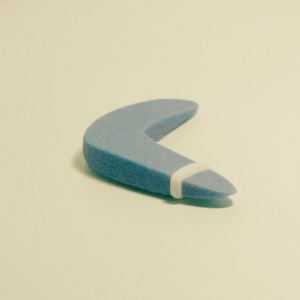
Magical Boomerang, now with twice the magic for twice the distance!
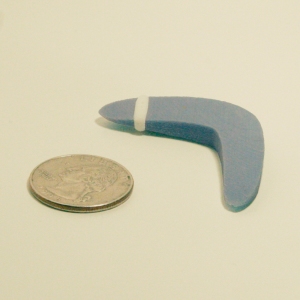
Now your ready for the second dungeon known as the moon and ready to retrieve the item within. The Magical Boomerang can be thrown all the way to the edge of the game screen!! As mentioned before, the Boomerang is found in almost all the Zelda games and there does not seem to be much design similarity between boomerangs from different ages. Making them unique items to their time period. I used the image from game manual as inspiration for the 3D version of the Magical Boomerang.
Today’s featured Zelda Fan Art is a full length movie made by fans. It’s called The Hero of Time and follows the story from Ocarina of Time. Enjoy, i know I did!
3D printing patents ready to expire in 2014
Usually I do not do this but I’m going to re-blog a very interesting article. Recently I wrote about Selective Laser Sintering (SLS). Well, in 2014 all the SLS patents will expire allowing the cost of these printers to drop dramatically.
3D printing will explode in 2014, thanks to the expiration of key patents
By Christopher Mims @mims July 21, 2013

Here’s what’s holding back 3D printing, the technology that’s supposed to revolutionize manufacturing and countless other industries: patents. In February 2014, key patents that currently prevent competition in the market for the most advanced and functional 3D printers will expire, says Duann Scott, design evangelist at 3D printing company Shapeways.
These patents cover a technology known as “laser sintering,” the lowest-cost 3D printing technology. Because of its high resolution in all three dimensions, laser sintering can produce goods that can be sold as finished products.
Whenever someone talks about 3D printing revolutionizing manufacturing, they’re talking about the kinds of goods produced by, for example, the industrial-grade 3D printing machines used by Shapeways. The company used by countless industrial designers, artists and entrepreneurs who can’t afford their own 3D laser sintering printers, which can cost tens of thousands of dollars each.
A huge drop in price and a flood of Chinese 3D printers

Once the key patents on 3D printing via laser sintering expire, we could see huge drop in the price of these devices, says Scott. This isn’t just idle speculation; when the key patents expired on a more primitive form of 3D printing, known as fused deposition modeling, the result was an explosion of open-source FDM printers that eventually led to iconic home and hobbyist 3D printer manufacturer Makerbot. And Makerbot was recently acquired by 3D printing giant Stratasys for about $400 million in stock, plus a potential $200 million stock bonus. That acquisition was a homecoming of sorts for Makerbot; Stratasys was founded by Scott Crump, who invented 3D printing via FDM, the very technology on which Makerbot was based.
Within just a few years of the patents on FDM expiring, the price of the cheapest FDM printers fell from many thousands of dollars to as little as $300. This led to a massive democratization of hobbyist-level 3D printers and injected a huge amount of excitement into the nascent movement of “Makers,” who manufacture at home on the scale of one object at a time.
A similar sequence involving the lifting of intellectual property barriers, a rise in competition, and a huge drop in price is likely to play out again in laser deposition 3D printers, says Shapeways’ Scott. “This is what happened with FDM,” he says. “As soon as the patents expired, everything exploded and went open-source, and now there are hundreds of FDM machines on the market. An FDM machine was $14,000 five years ago and now it’s $300.”
Many of those inexpensive 3D printers are being manufactured in—where else?—China. In addition to a thriving home-grown industry in 3D printers, in 2012 China’s Ministry of Industry and Information Technology launched an initiative to fund 10 research centers devoted to 3D printing, at a cost of 200 million yuan ($32 million).
Disruptive implications for industry and the democratization of distributed manufacturing

One thing a lot of observers don’t understand about 3D printing is that not all 3D printing technologies are created equal. The revolution in manufacturing that was supposed to come with cheap, desktop 3D printers hasn’t materialized because, frankly, the models they produce are basically novelties, handy for giving you a feel for what something will look like in three dimensions, but not really usable for creating prototypes that can be directly translated into molds for mass production, and certainly not usable for creating finished goods.
With the expiration of patents on laser sintering 3D printing, however, all of that is about to change. Currently, designers who want to go from idea to finished product in a matter of hours, and create finished products to sell to the public—like these accessories for Google Glass—have to order 3D prints from a company like Shapeways. The problem is, Shapeways’ services are in such demand that it takes two weeks to get a finished product from the company, which is hardly the future of instant manufacturing that 3D printing was supposed to enable.
One of Shapeways’ problems is that the company can’t buy enough advanced 3D printers (the laser-sintering kind) to keep up with demand. This is because 3D Systems, the company that makes the models that Shapeways uses, has a 12- to 18-month waitlist for its printers. Cheap laser-sintering 3D printers of the sort made by Formlabs, which sells a desktop laser-sintering 3D printer for $3,300, could finally give people the ability to manufacture (plastic) parts of the same quality as those mass-produced through traditional means, such as injection molding. (Formlabs got around the patent issue by first getting sued by and then licensing the IP of 3D Systems, which controls the key patents that are set to expire.)
[Correction: Formlabs’ Form 1 printer is not an SLS printer, but an SLA or STL model, which means it uses yet a third 3D printing technology (which is also dependent on light) called stereolithography. In SLA printing, a photo-sensitive liquid resin is exposed to light, and cured into a solid plastic one layer at a time. This technology is also covered by some of the critical patents mentioned in this piece.]
Or, if you believe Duann Scott, people will continue to use services like those of his company so that they can get even higher quality 3D prints, and in larger quantities—and, potentially, much faster than the current turnaround time of two weeks. All of this means that the release of these patents could be an important step in getting us to the future of mass customization and distributed manufacturing that we were promised.
——————————————-
So exciting!!

